Riding & Performance
One leg moves. What does your pelvis do?
A small off-horse exercise opens The Rider’s Edge, our practical series for riders who want to make room for their own training.
BarnFlow Journal · The Rider’s Edge, Week 1 ·
You ask for a little more leg. Your shoulders join in. You try to settle your hands, and notice you have stopped breathing. Riding can make a surprisingly complicated job of doing one small thing at a time.
Off the horse, you can slow that job down. There is no corner approaching, no change of rein to remember and no instructor waiting for the next transition. Just a mat, a moving leg and a chance to notice what happens elsewhere.
That is where The Rider’s Edge begins. This week, we are practising a simple heel slide. The point is not how far the leg travels. It is whether you can choose a comfortable range while the rest of you stays reasonably settled.
A small movement worth noticing
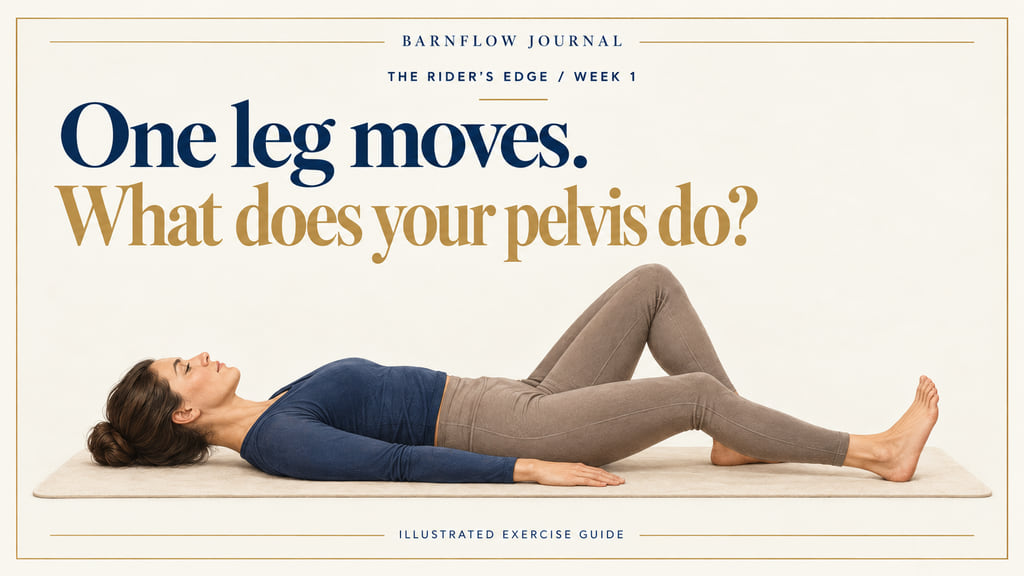
Lie on your back with your knees bent and your feet resting on the floor. Let one heel travel slowly away from you. As the knee opens, notice your pelvis. Does it tip or turn? Do you suddenly press hard into the mat? Does your breathing stop?
None of those observations grades your riding. They simply give you something to adjust in this exercise. Shorten the movement, soften the effort and try again. A few unhurried repetitions can be more useful for learning the movement than chasing the longest possible reach.
There is one important distinction. In the saddle, your pelvis needs to respond to the horse’s movement. Keeping it relatively steady on a mat is a specific exercise task, not a rule for how to sit on a moving horse.
What exercise away from the saddle can offer
Research gives us reasons to investigate rider training, but not a shortcut to a better seat. A 2026 pilot study involved four riders and 20 horses over 60 days. Riders in the exercise condition also completed substantial gym training. The authors reported favourable changes in saddle-pressure measurements. Four riders and a much larger training dose cannot establish what this short routine will do for you. H1
Our aim for week one is deliberately modest: learn the movements, stay comfortable and discover whether a short practice fits your week. Improving a riding skill still involves riding, appropriate instruction and the individual horse-and-rider combination.
Before you begin
This routine is for adults comfortable with gentle floor exercise. Use a mat in a clear space away from horses. If you have pain, a recent injury or operation, are pregnant, or have a condition that may affect exercise, ask a qualified health professional about suitable adaptations. Stop if an exercise hurts, makes you dizzy or causes unusual symptoms.
Start with a minute of easy walking. Take another half-minute to get down to the mat comfortably. Keep breathing throughout; there is no need to brace as hard as you can.
First find the movement
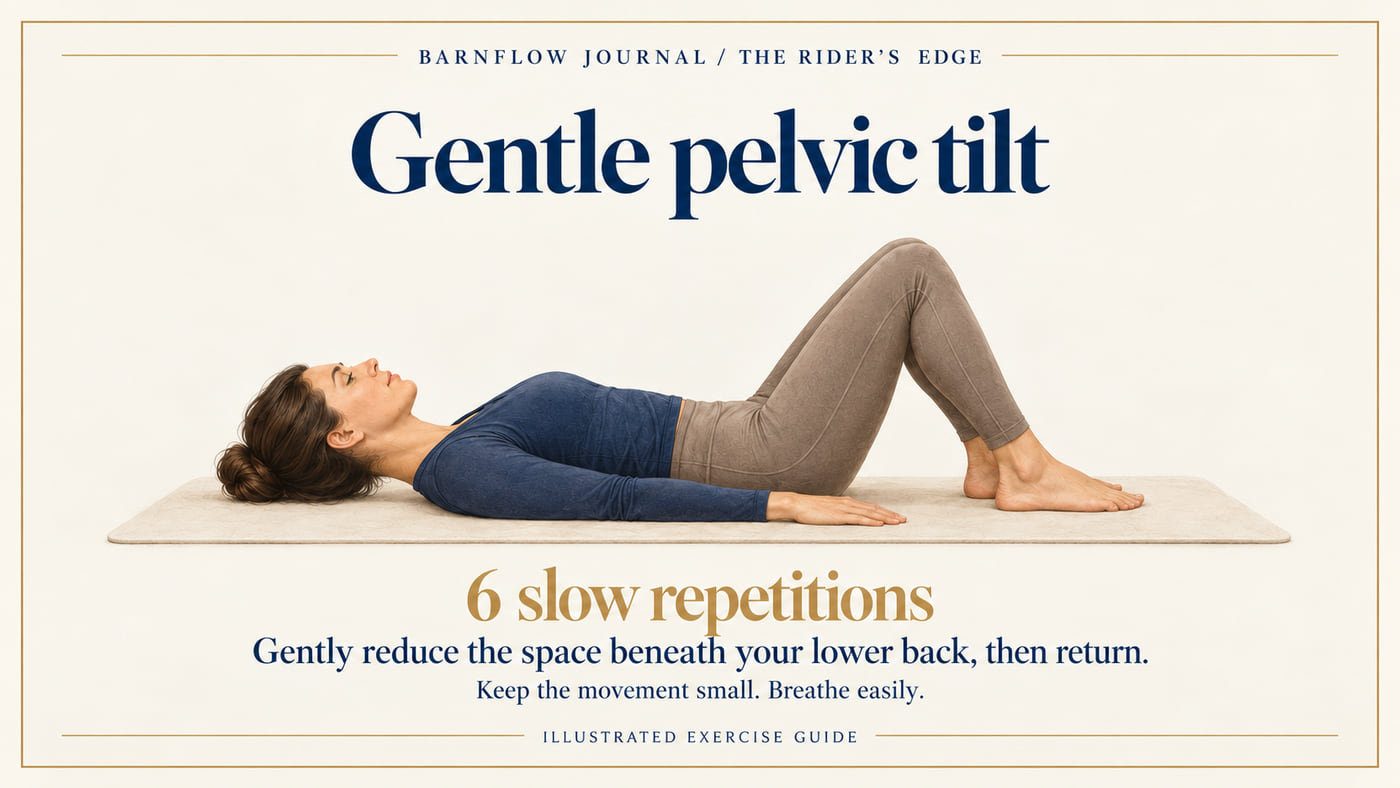
For six small pelvic tilts, stay on your back with bent knees and supported feet. Gently roll the pelvis so the space beneath your lower back reduces, then return to your comfortable starting position. Avoid pushing into the floor or making a big arch. This is a chance to recognise the movement before asking the pelvis to stay quieter. H2
Then let one heel travel
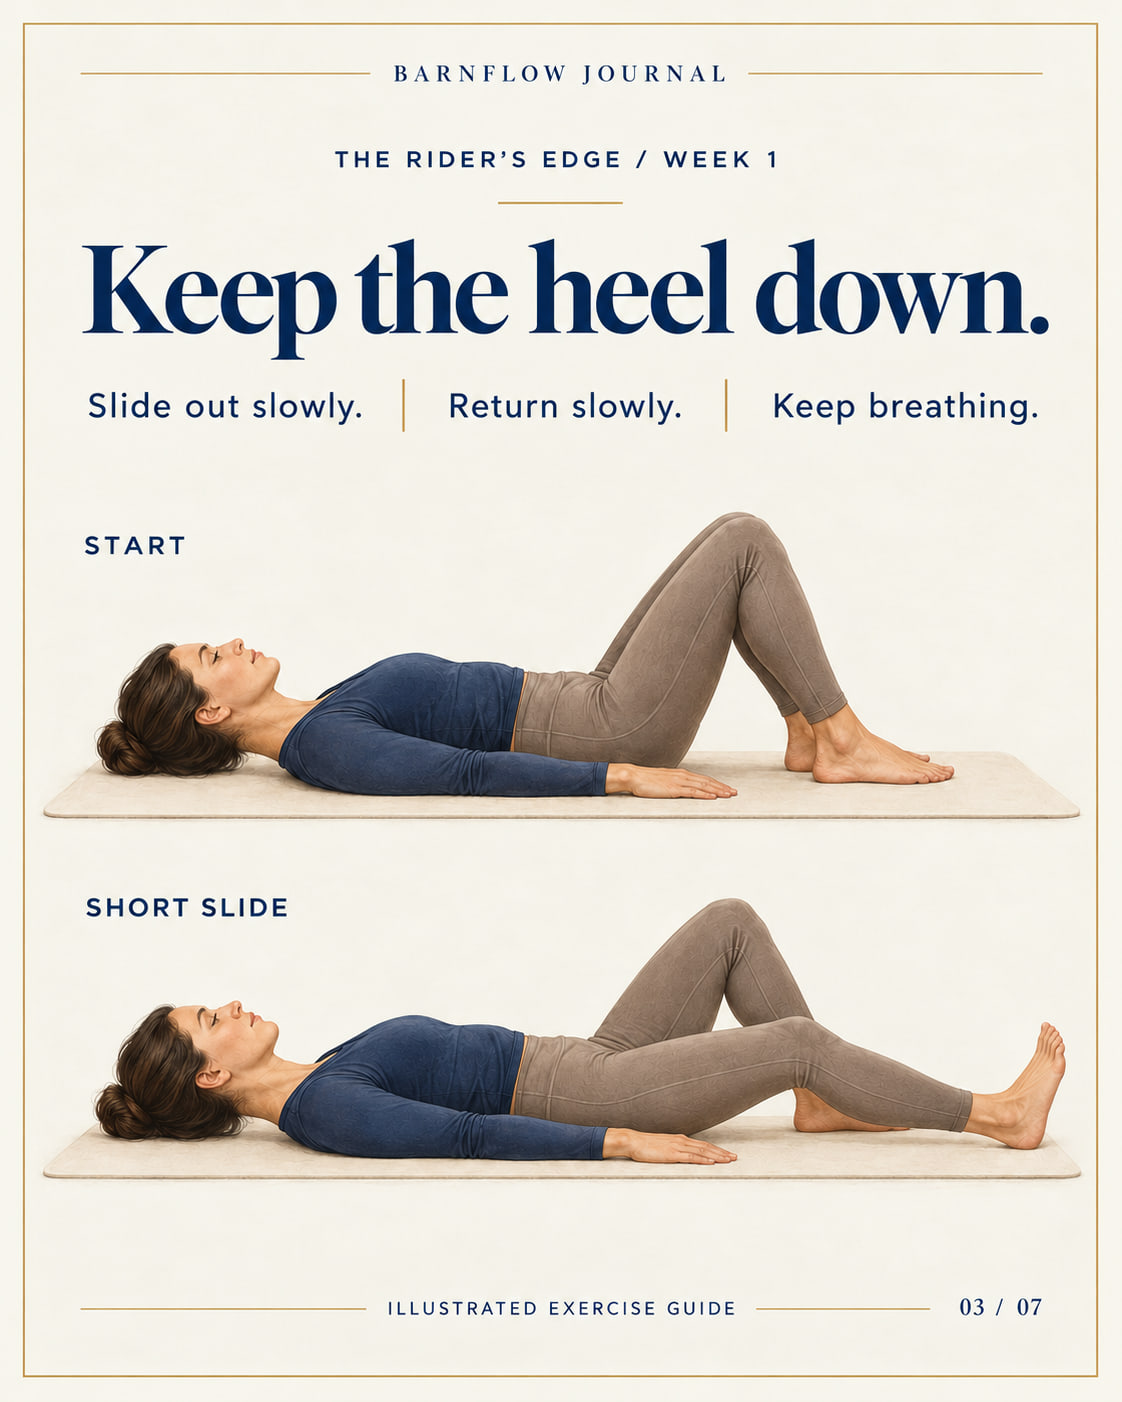
Slide one heel away without lifting it from the floor. Take about three seconds out and three seconds back. Use gentle abdominal effort and keep breathing. Stop the outward slide before you noticeably tip the pelvis or increase the arch in your back. Alternate sides for five repetitions each. A short slide counts. H3 H4
If the mat catches your heel, reduce the distance or adjust the surface so it moves smoothly. Do not force the knee straight. If even a small slide is uncomfortable, leave this exercise out and seek individual advice rather than trying to push through.
Change position and keep the task simple
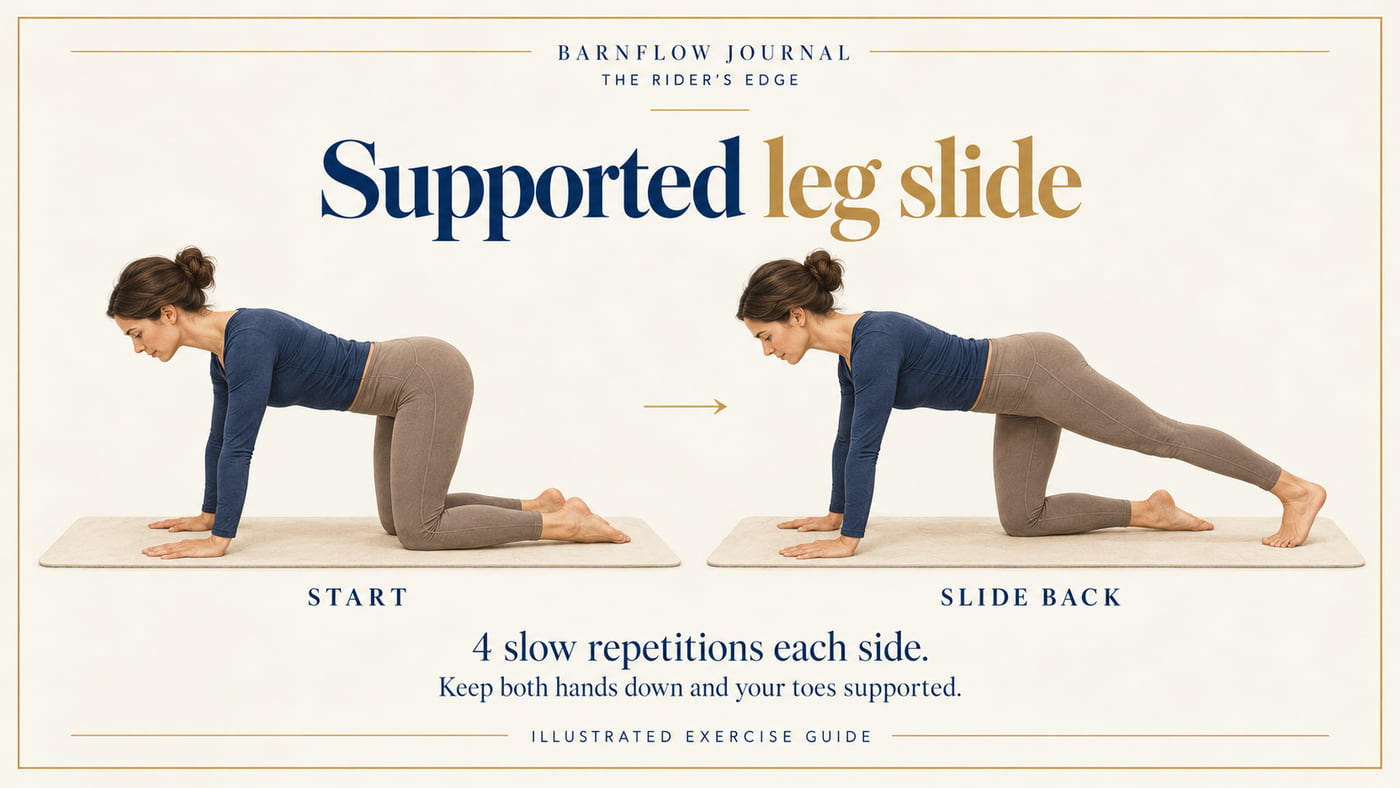
Come onto hands and knees, with hands below shoulders and knees below hips. Keep your neck in line with your back. Slowly slide one foot behind you with the toes staying on the floor, then bring it back. Keep both hands planted and limit the reach so your pelvis does not visibly rotate or your back sag. Try four repetitions on each side. H5 H6
This supported preparation is our easier variation of the quadruped exercise; it is not the full opposite-arm-and-leg bird dog. If kneeling or supporting yourself through the hands is uncomfortable, skip it. Repeat only the comfortable floor movements. You do not need to unlock a harder version this week.
A week you can actually repeat
Rest for 20–30 seconds between movements. On the first day, complete one round. On two later days, with at least a day between sessions, repeat it. If everything remains comfortable and controlled, add a second round. Allow about five minutes for one round or eight to ten for two, including preparation and changes of position.
Keep the same repetition count this week. You can progress by finding a smoother return or remembering to breathe without prompting yourself. Making the movement bigger is optional, and only useful while it remains comfortable.
After each session, write one short note: “small range felt easier”, “held my breath”, or “remembered to slow down”. It is more helpful than awarding yourself a score that claims to measure your seat.
At your next lesson, take the question with you rather than forcing a new position: what else moves when you use one aid? Discuss it with your instructor. You are collecting observations, not diagnosing yourself from a video.
Next in The Rider’s Edge: comfortable hip movement after a day at a desk. For now, the job is small enough to begin: one leg, a little room to move, and time to notice.
The exercise sequence is a general introductory practice assembled by BarnFlow Journal. It is not a validated treatment or a promise of riding improvement. Sources: the rider pilot study H1, NHS movement guidance H2 H3 H4, and quadruped guidance from Mayo Clinic and ACE H5 H6.